

The many steps between the earth and you


How we make our tiles
Our process is all done by hand. From rolling out lumps of clay to carving our designs, our tiles can take hours to individually craft, glaze, and fire.

Step 1: Preparing the clay
Dürt is lucky to use locally sourced clay from Kentucky Mudworks. Once we haul hundreds of pounds of our preferred clay back to the studio, we slam wedge each lump until the tiny particles inside are aligned, which helps ensure the tile dries flat. This step takes some muscle, but generally we’re pleased with the gains!

Step 2: Rolling out the clay
Once the clay is properly wedged, we wire off a slab just a bit thicker than our tiles. We place it between a layer of canvas and two boards, and then run it through our table-top slab roller, which is basically like a giant crank-controlled rolling pin. We flip and rotate the clay as we crank so the clay is pushed and pulled evenly in all directions—again, to help the tiles dry flat.

Step 3: Cutting out the tiles
Once rolled, we take our trusted, repurposed shower squeegee and run it along the the clay in every direction. This helps further align and compress those pesky particles. Once it’s smooth, we take a stainless steel tile cutter and cut out the tiles, much like you would a Christmas cookie!
Step 4: Drying the tiles
The cut tiles are immediately placed on sections of drywall, covered with a layer of plastic, and then weighed down by another layer of drywall. The goal is to dry the tiles slowwwwlllyyyy. After 24 hours, the tiles are flipped upside down and covered back up. After another 24 hours, we flip them back right-side-up and cover them.
Optional step 5: The porcelain
Tiles destined for illustrative work require an extra step: Porcelain! While the freshly cut tiles are still wet, we take a squeeze bottle of liquid porcelain and deposit a layer of the white clay on top of the tile. This creates a bright canvas for our art, while still allowing some of the warmth of the original clay to shine through.

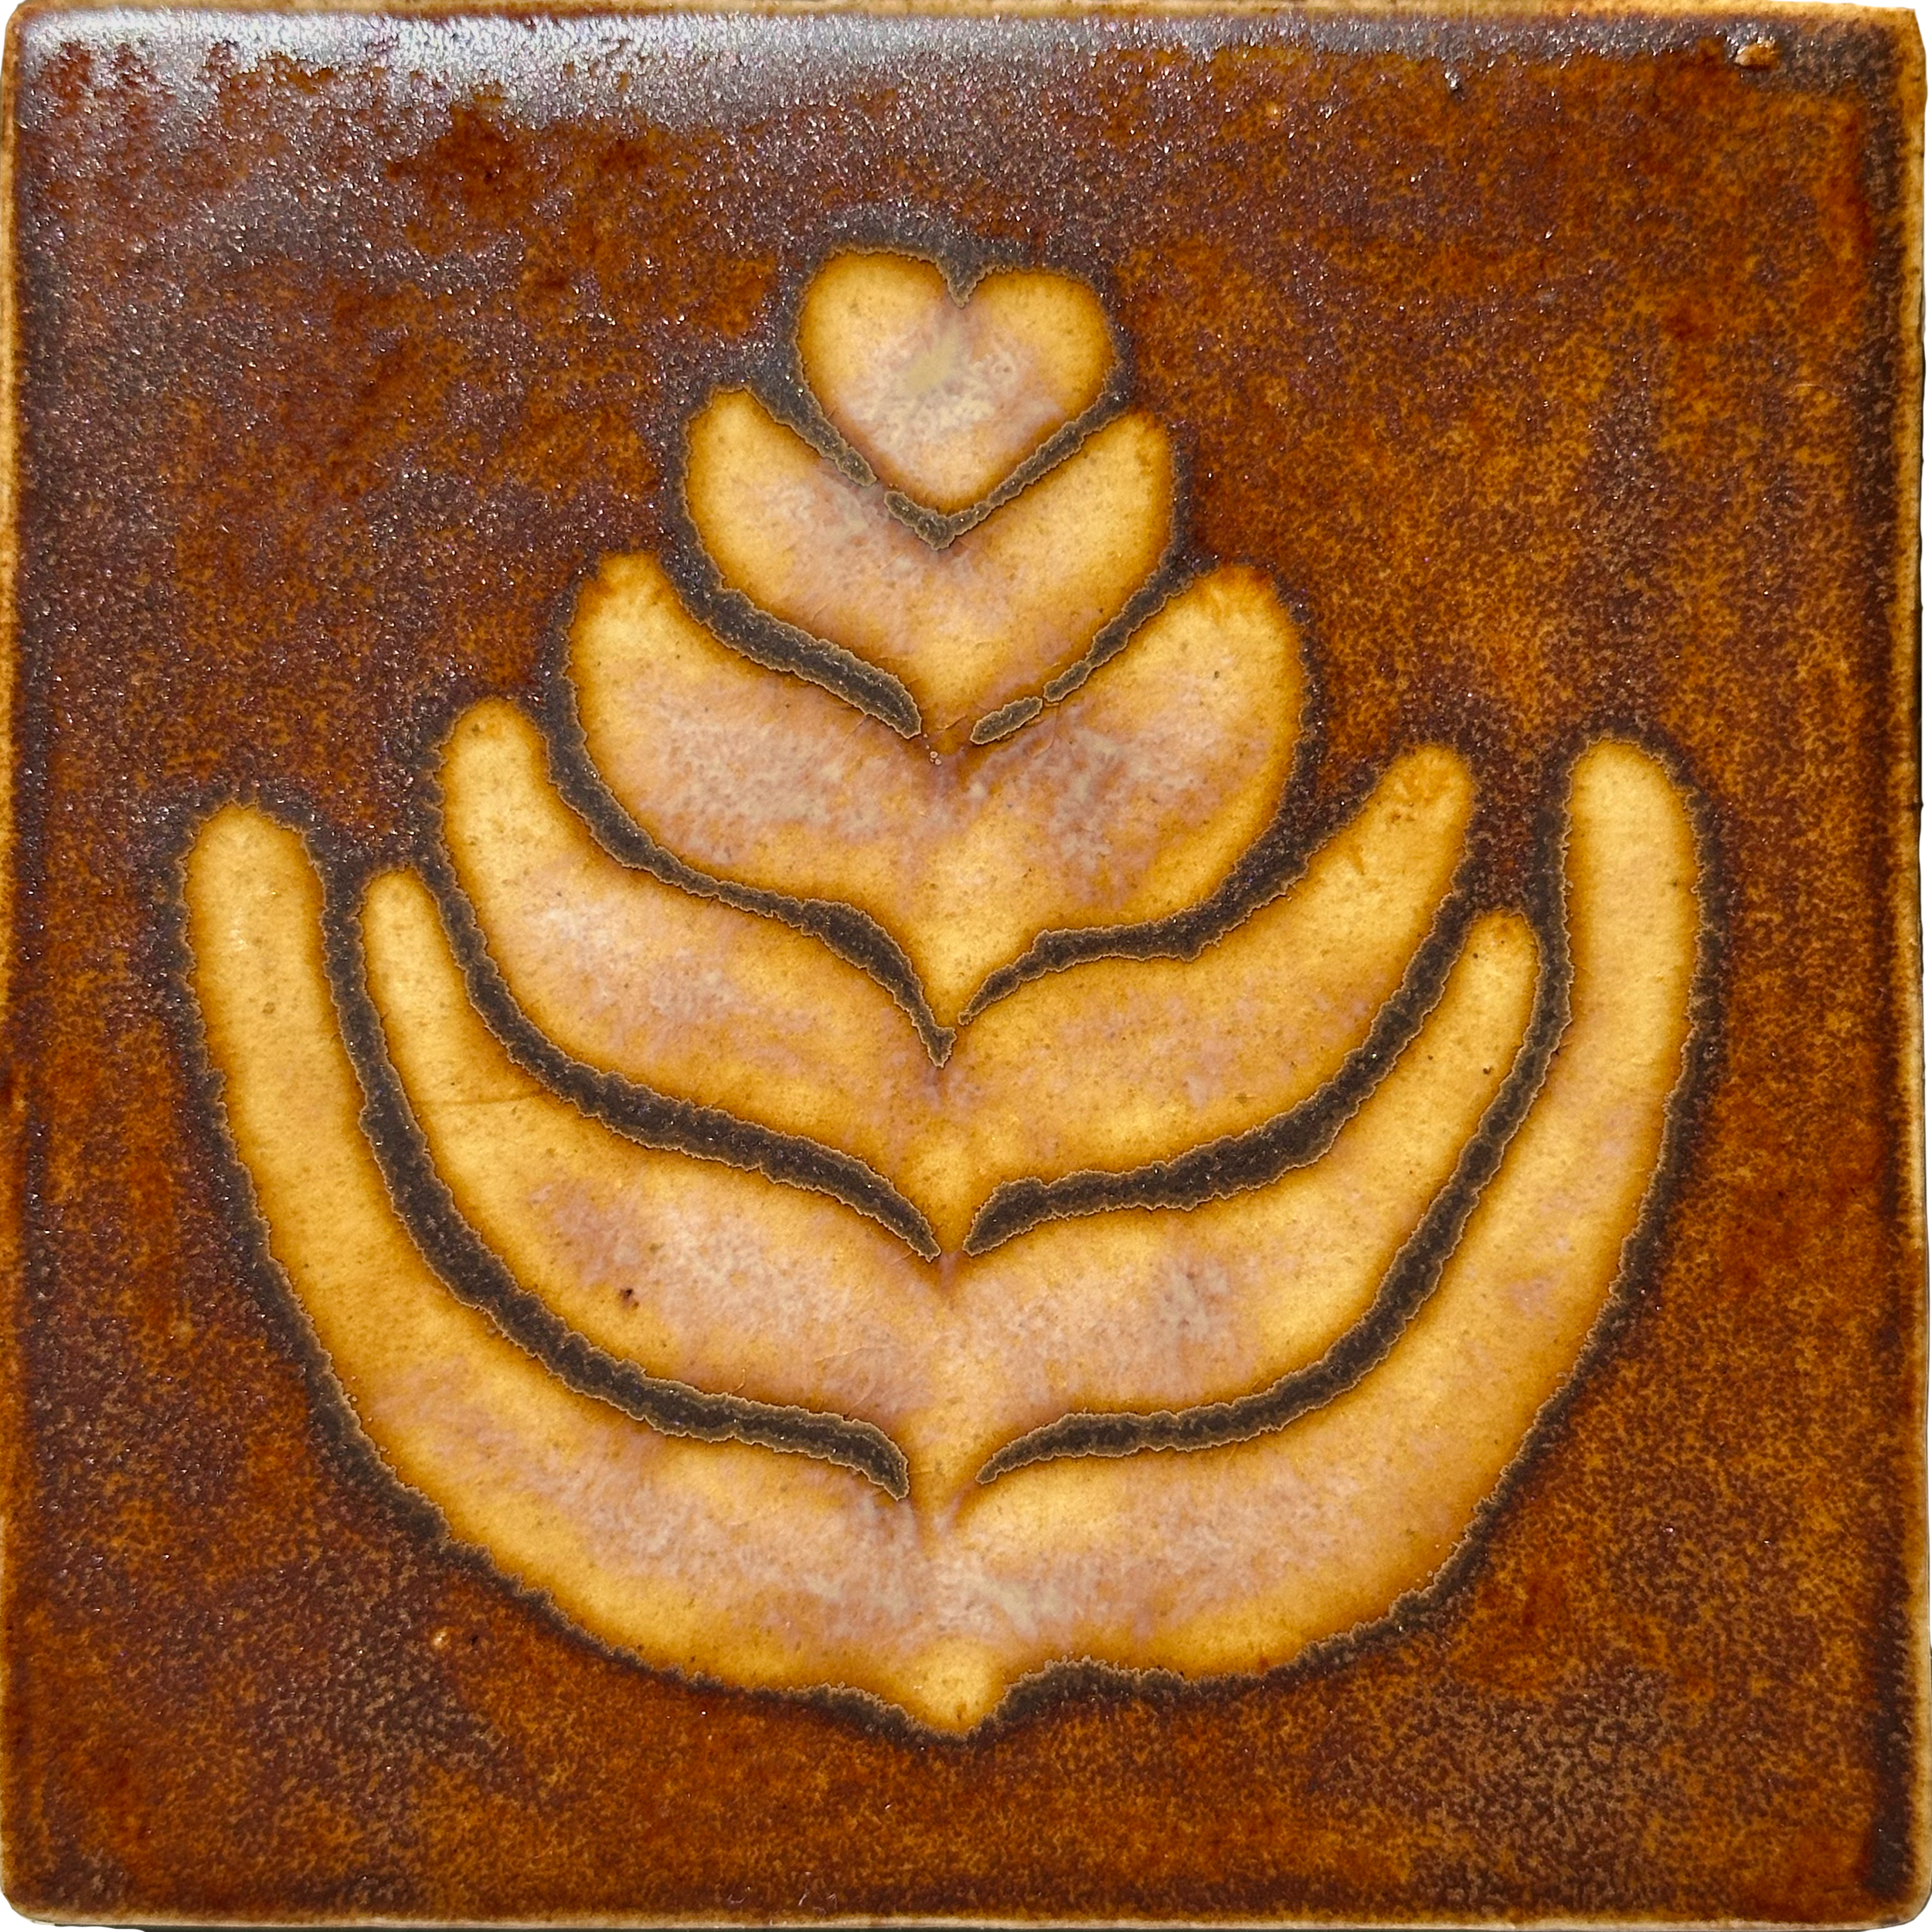
Step 6: Decoration (painting, carving, and more!)
Now that our canvases are prepared, it’s time for fun part: Experimentation! The possibilities are literally endless and Dürt is all the time testing out new ideas, techniques, and design combinations. For those potters out there, we use AMACO Velvet underglaze for most of our illustrative work.


Step 7: The first firing
With our designs on the tile, it’s time for our first firing, called the bisque fire (~1822°F). This removes all of the chemically bonded water particles, burns off all organic material, strengthens the tile, and prepares the clay for the glaze. It takes about two days to fire and cool off.
Step 8: Glazing
After the bisque firing, the tiles are sturdier and better able to withstand the extra moisture deposited while applying the wet, water-based glaze. Depending on the tile, we either hand paint layers of glaze onto the surface or dunk it in a bucket full of glaze. Sometimes, we’ll paint a layer of wax onto a design in order to prevent glaze from sticking to certain parts of the tile (see our cyanotype series).
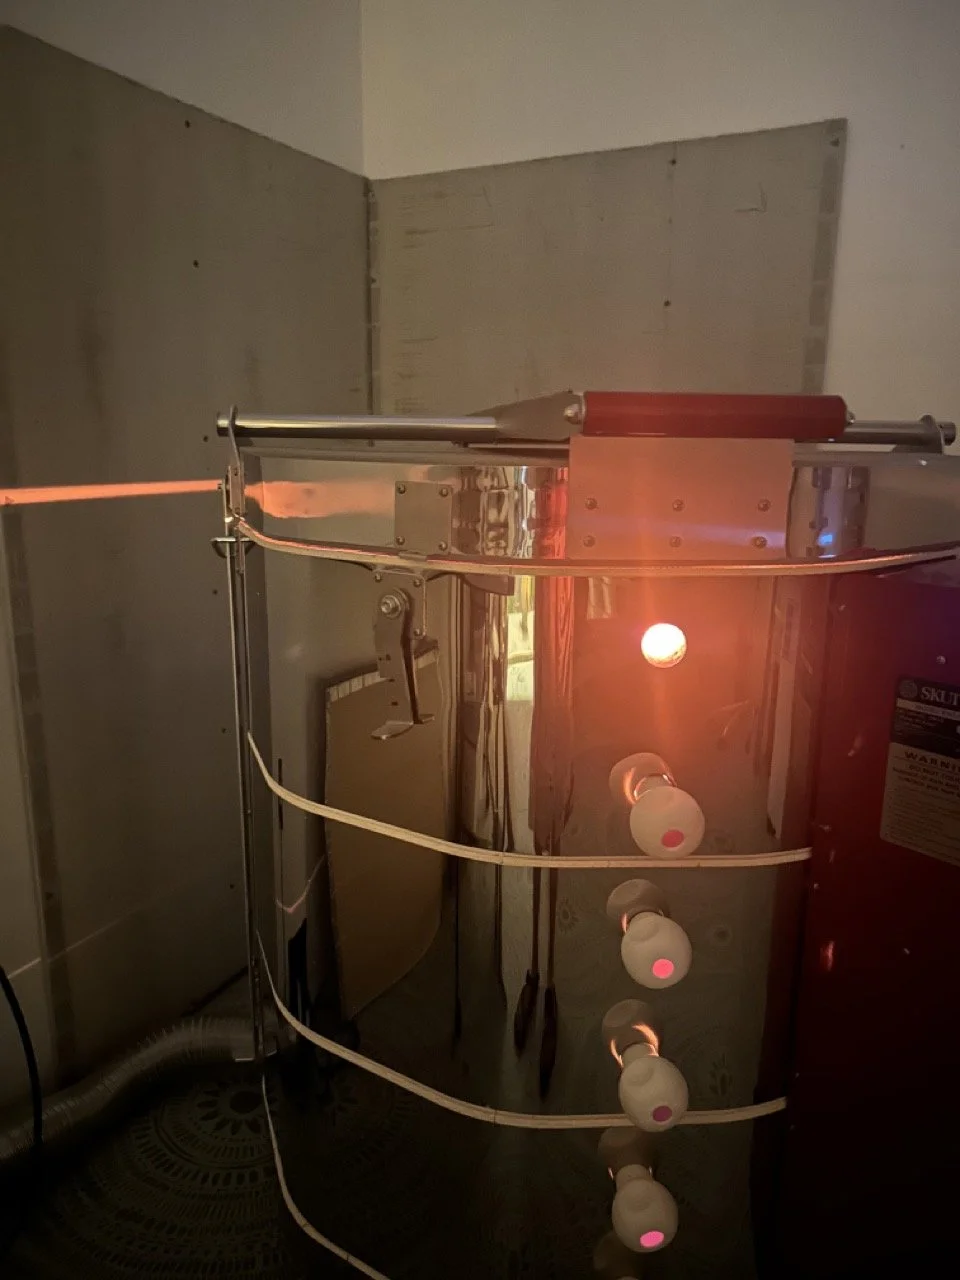
Step 9: The second firing
We crank the kiln up for the second and final firing where temperatures can reach ~2232°F. At this temperature, all kinds of chemical changes are happening in the clay and glaze—most obviously, the silica in the glaze melts into a glass layer on top of the tile. It takes about three days to fire and completely cool the tiles.
Step 10: Sending them off to you!
Magic happens during the glaze firing as the tiles take their final form. After much gasping and fanfare, we complete a quality control check and then package them up and send them to their forever homes.